

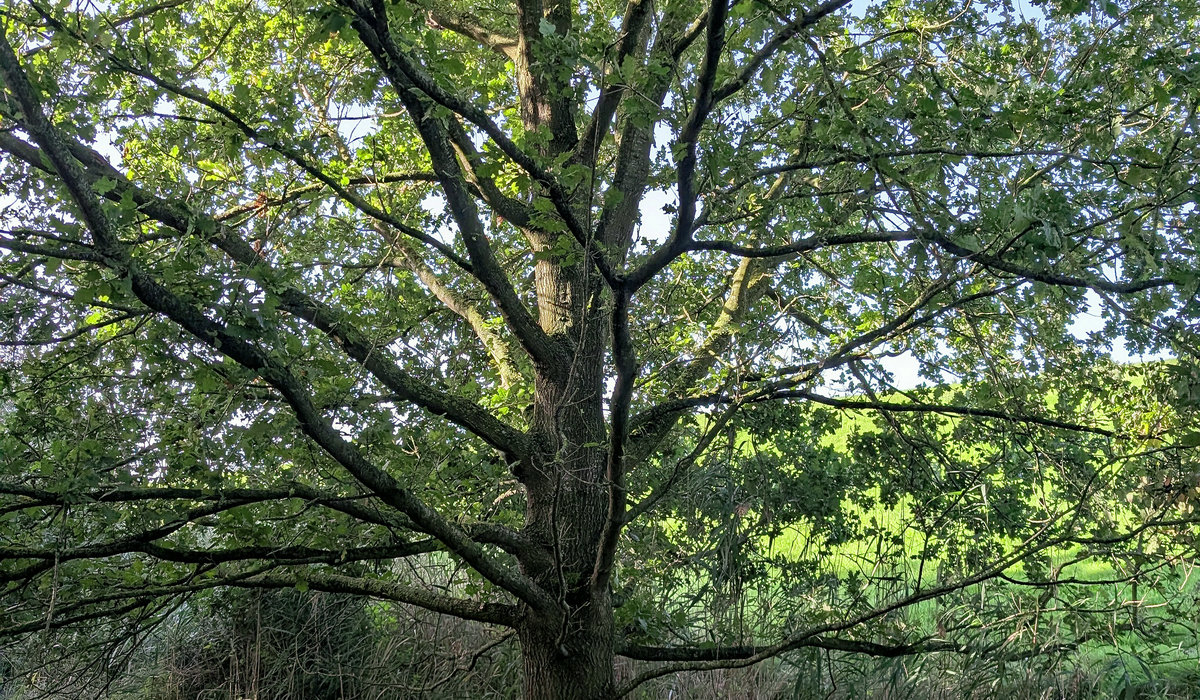
Preparing the Soil for New Native Tree Saplings
Why the Ground Beneath the Sapling Matters
A native sapling planted into poor ground will sit there sulking for years, putting on barely a hand's width of growth while its roots fight compacted clay or starve in hungry sand. Get the soil right first and the same tree will romp away, often doubling in height within two or three seasons. Native species such as pedunculate oak, silver birch, rowan, hazel and hawthorn are forgiving once established, but they all appreciate a decent start. Bare-root whips planted between November and March are the best value and establish fastest, which makes the autumn preceding planting the ideal window for preparation.
Reading Your Soil Before You Dig
Before reaching for the fork, spend half an hour working out what you are dealing with. Squeeze a handful of moist soil in your palm: if it moulds into a smooth ball that holds a shine, you have clay; if it crumbles and feels gritty, it is sandy; a silky, slightly soapy feel points to silt. Chalk and limestone soils drain fast and tend to be alkaline, which suits hawthorn, field maple and wild cherry but not acid-lovers such as rowan or birch.
Drainage is the other half of the picture. Dig a hole roughly 60cm deep and wide, fill it with water, let it drain overnight, then refill and time how long it takes to empty.
- Under 15 minutes: very free-draining, and you will need extra organic matter and reliable summer watering for the first two years.
- 15 minutes to 4 hours: about right for most native trees.
- Over 4 hours or standing water: poor drainage, so plant on a slight mound or improve the profile before planting.
Opening Up Compacted and Waterlogged Ground
Compaction is the quiet killer of new plantings. If your site has seen machinery, foot traffic or years of mowing, there is likely a hard pan 20–30cm down that roots simply cannot push through. Fork the planting area over to two spade depths, working backwards across the bed so you never stand on ground you have just loosened. On heavier clay, avoid digging when it is wet — you will smear the structure rather than improve it — and wait for a dry spell when the soil crumbles rather than clods.
Where water genuinely lingers, mound planting is the practical answer. Fork the base, then mound up a mixture of topsoil and well-rotted organic matter to about 30cm high and a metre across, planting the sapling into the top of the mound. Roots sit above the water table but still reach down into moisture as they establish. On chalk or gravel, the opposite applies: work in plenty of moisture-retentive organic matter and consider a shallow planting basin to catch rainfall.
Adding Organic Matter Without Overfeeding
Organic matter does two jobs at once: it feeds the soil life and it improves structure, whether that means opening up clay or binding sandy ground. Well-rotted farmyard manure, garden compost and leafmould are all ideal, and leafmould is particularly good for woodland plantings because it encourages the fungal networks native trees rely on.
Spread a generous bucketful per square metre over the prepared area and fork it into the top 20–25cm. A few cautions are worth heeding:
- Use only well-rotted material — fresh manure burns young roots.
- Skip peat-based products; leafmould, composted bark and homemade compost are better choices.
- Do not overfeed. Rich, nitrogen-heavy soil pushes soft leafy growth that is prone to wind damage and aphids. Native trees do best on modest fertility.
- If you are planting into tired ground, a sprinkle of mycorrhizal fungi in the planting hole can help roots get going, though it works best alongside good organic matter rather than instead of it.
Clearing Weeds Before Planting Day
Competition from grass and perennial weeds is the single biggest reason young trees fail. Couch grass, bindweed, ground elder, nettles and brambles will all out-compete a whip for water and nutrients. Start clearing at least a season ahead where you can. Dig out perennial roots by hand, or smother them with a thick mulch of compost topped with cardboard and woodchip. A 1m square weed-free circle around each planting position is the minimum; 1.5m is better for vigorous species.
Once the sapling is in, mulch again to around 7–10cm deep, keeping the material a clear hand's width away from the trunk to prevent rot. Woodchip, composted bark or leafmould all work well, and a mulch ring also conserves moisture through dry spells.
Planting and the First Three Summers
Dig a hole at least twice the width of the root spread but no deeper than the nursery soil line on the stem. Tease out circling roots, place the sapling so the root collar sits level with the surrounding ground, backfill in layers and firm gently with your heel. Water thoroughly, even in winter, then fit a spiral guard or rabbit guard and stake only if the site is windy or exposed.
Aftercare is simple but non-negotiable: keep the weed-free circle clear, water deeply once a week through the first two summers, and check ties and guards each spring. Do that and your native saplings will reward you with a woodland that outlives us all.


Tree Care
-
Master the timing and cuts needed for healthy apple trees, improving fruit yield and preventing common problems such as disease.
Planting



-

Long established fact that a reader will be distracted
-

Long established fact that a reader will be distracted
-

Long established fact that a reader will be distracted

Woodland
Karla Gleichauf
12 May 2017 at 05:28 pm
On the other hand, we denounce with righteous indignation and dislike men who are so beguiled and demoralized by the charms of pleasure of the moment
M Shyamalan
12 May 2017 at 05:28 pm
On the other hand, we denounce with righteous indignation and dislike men who are so beguiled and demoralized by the charms of pleasure of the moment
Liz Montano
12 May 2017 at 05:28 pm
On the other hand, we denounce with righteous indignation and dislike men who are so beguiled and demoralized by the charms of pleasure of the moment